
First-party product documentation. Instructions are verified against the dFlow~IQ desktop implementation. Labels appear exactly as they do in the application where practical.
Install the desktop application
Use the installer built for your operating system and processor.
macOSOpen the Apple silicon DMG, drag dFlowIQ into Applications, then launch it.
LinuxInstall the ARM64 DEB using your distribution's package tooling.
Create a workspace and connect
A workspace keeps the Kafka and optional Schema Registry connection together. Select the + button in Workspaces, then select Create.
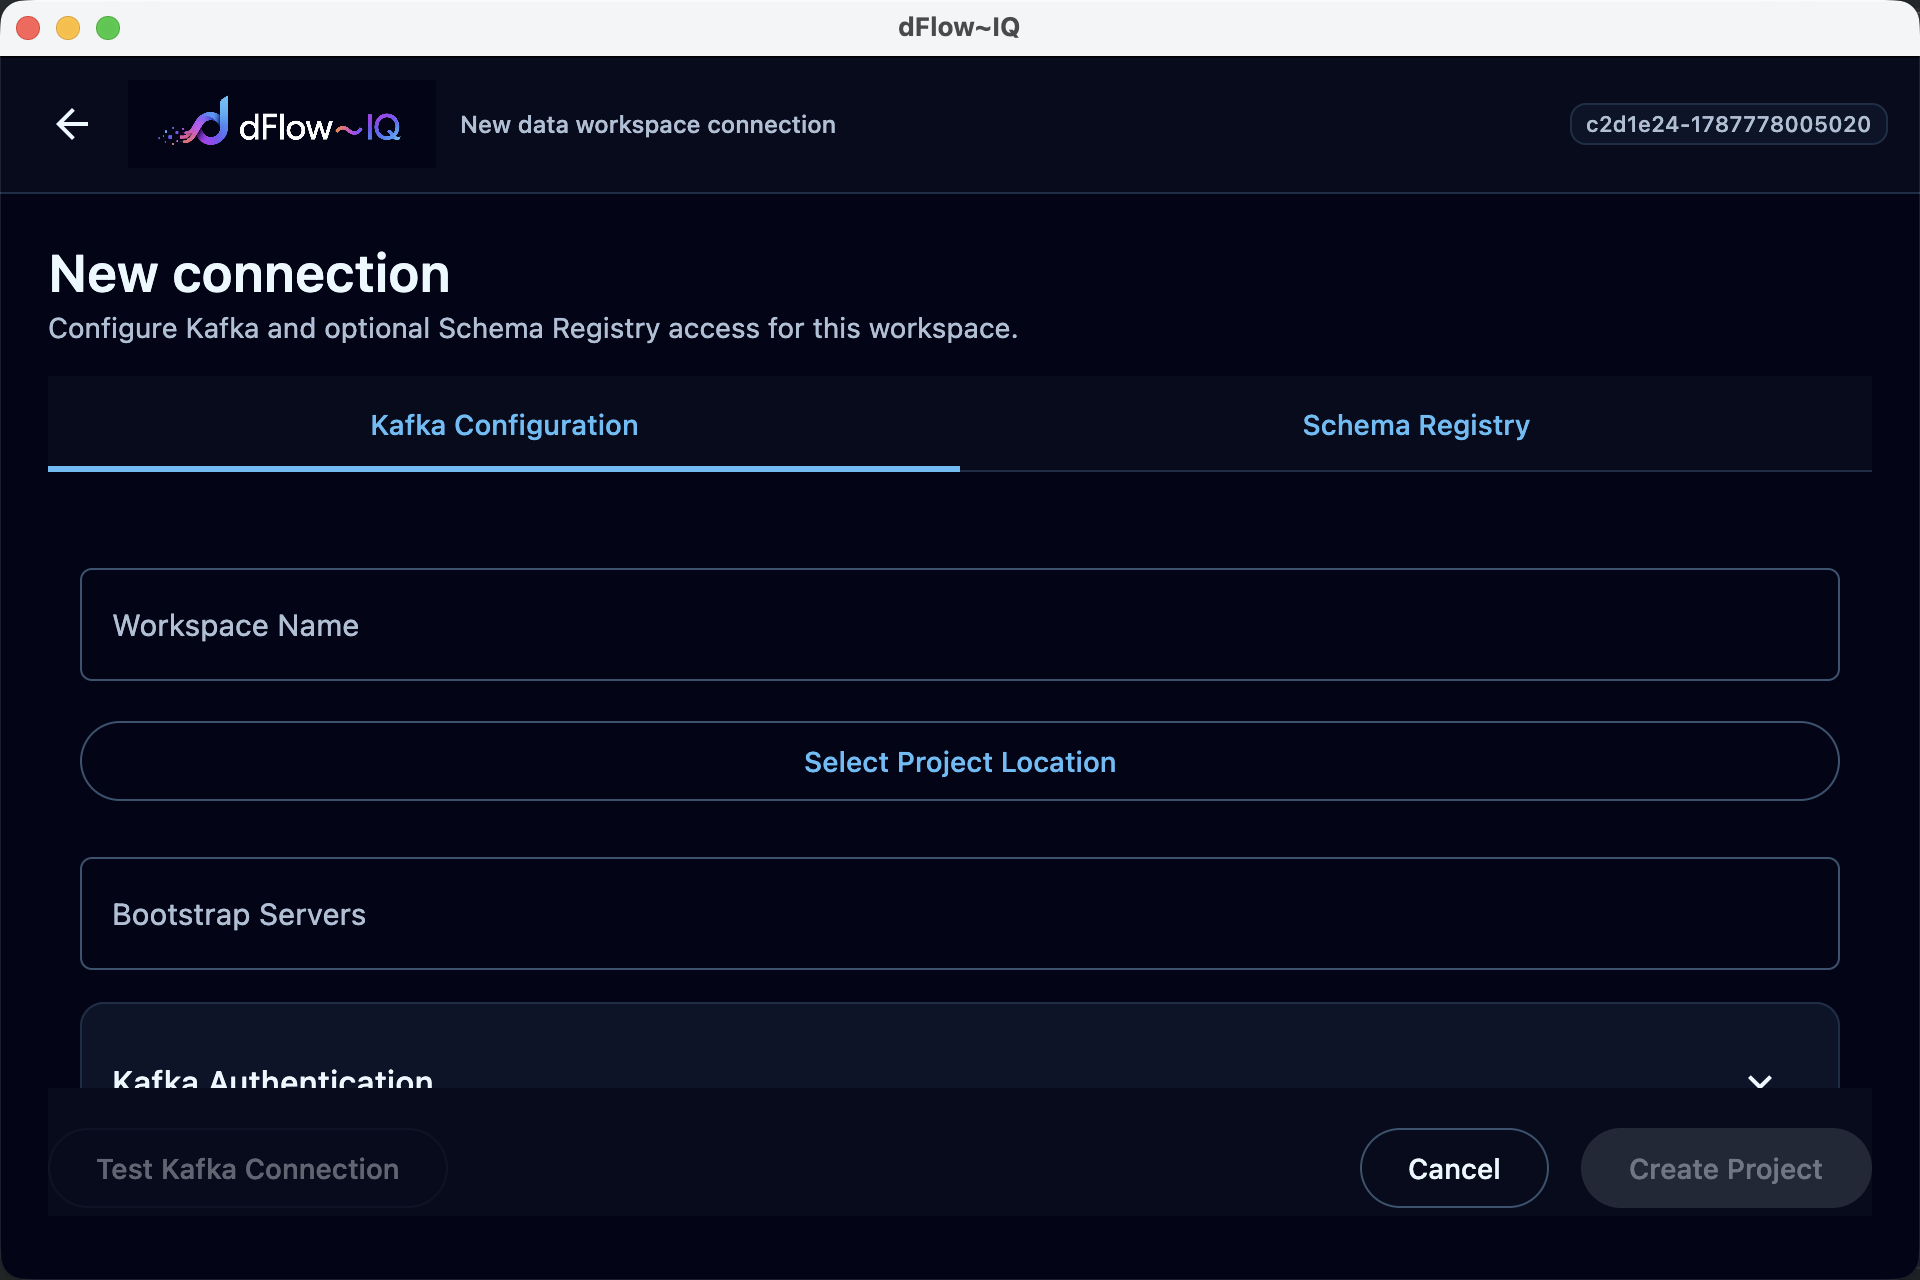
- Enter Workspace Name and choose Select Project Location.
- Enter one or more Bootstrap Servers, then choose the required Kafka Authentication method.
- Open Schema Registry to add its URL and authentication when your environment uses one.
- Test the connections and select Create Project.
Open the connected workspace
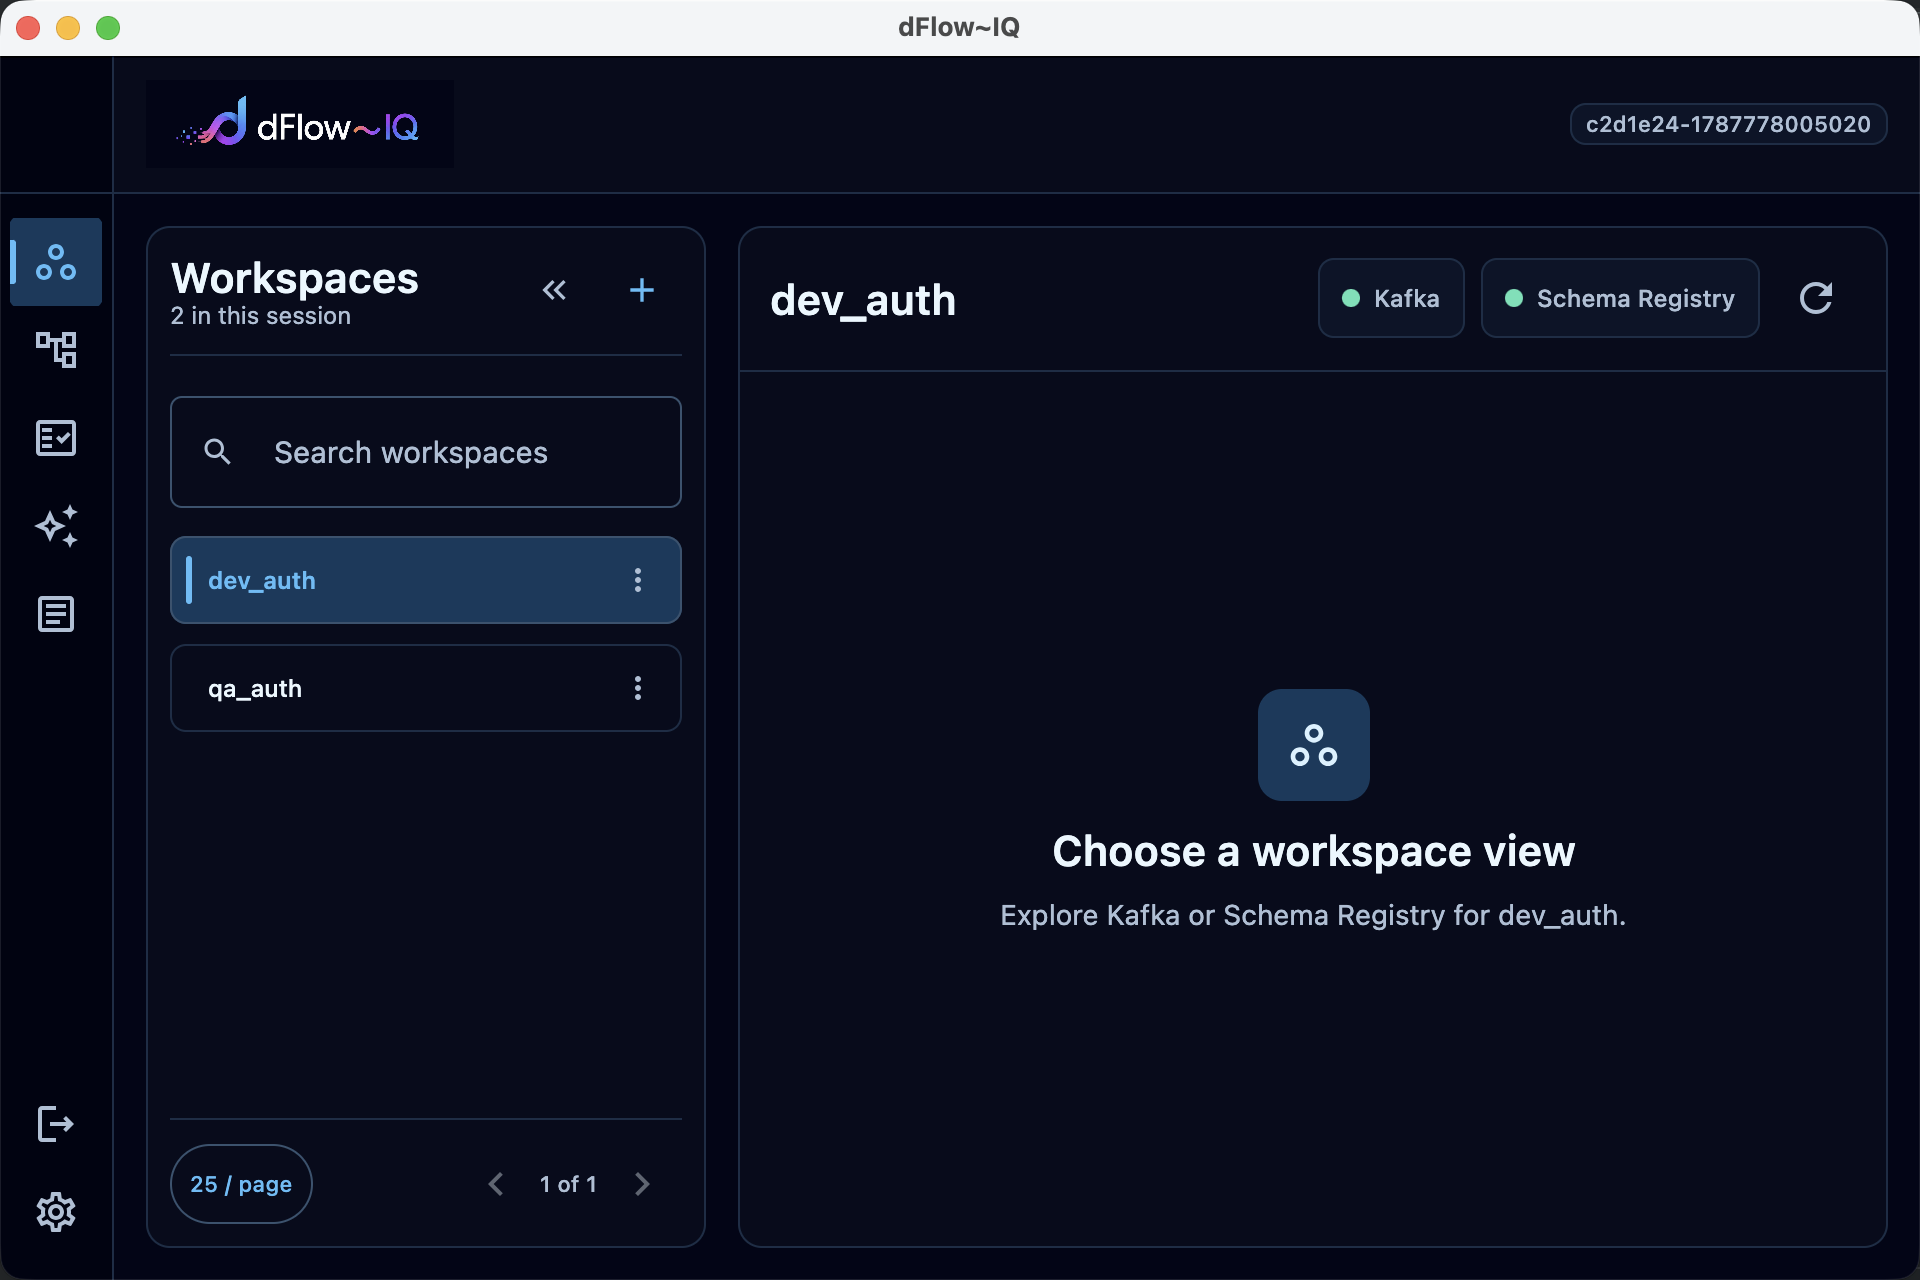
The workspace list keeps your configured environments in one session. Select a workspace, then choose Kafka or Schema Registry to begin exploring it.
Browse a topic and inspect records
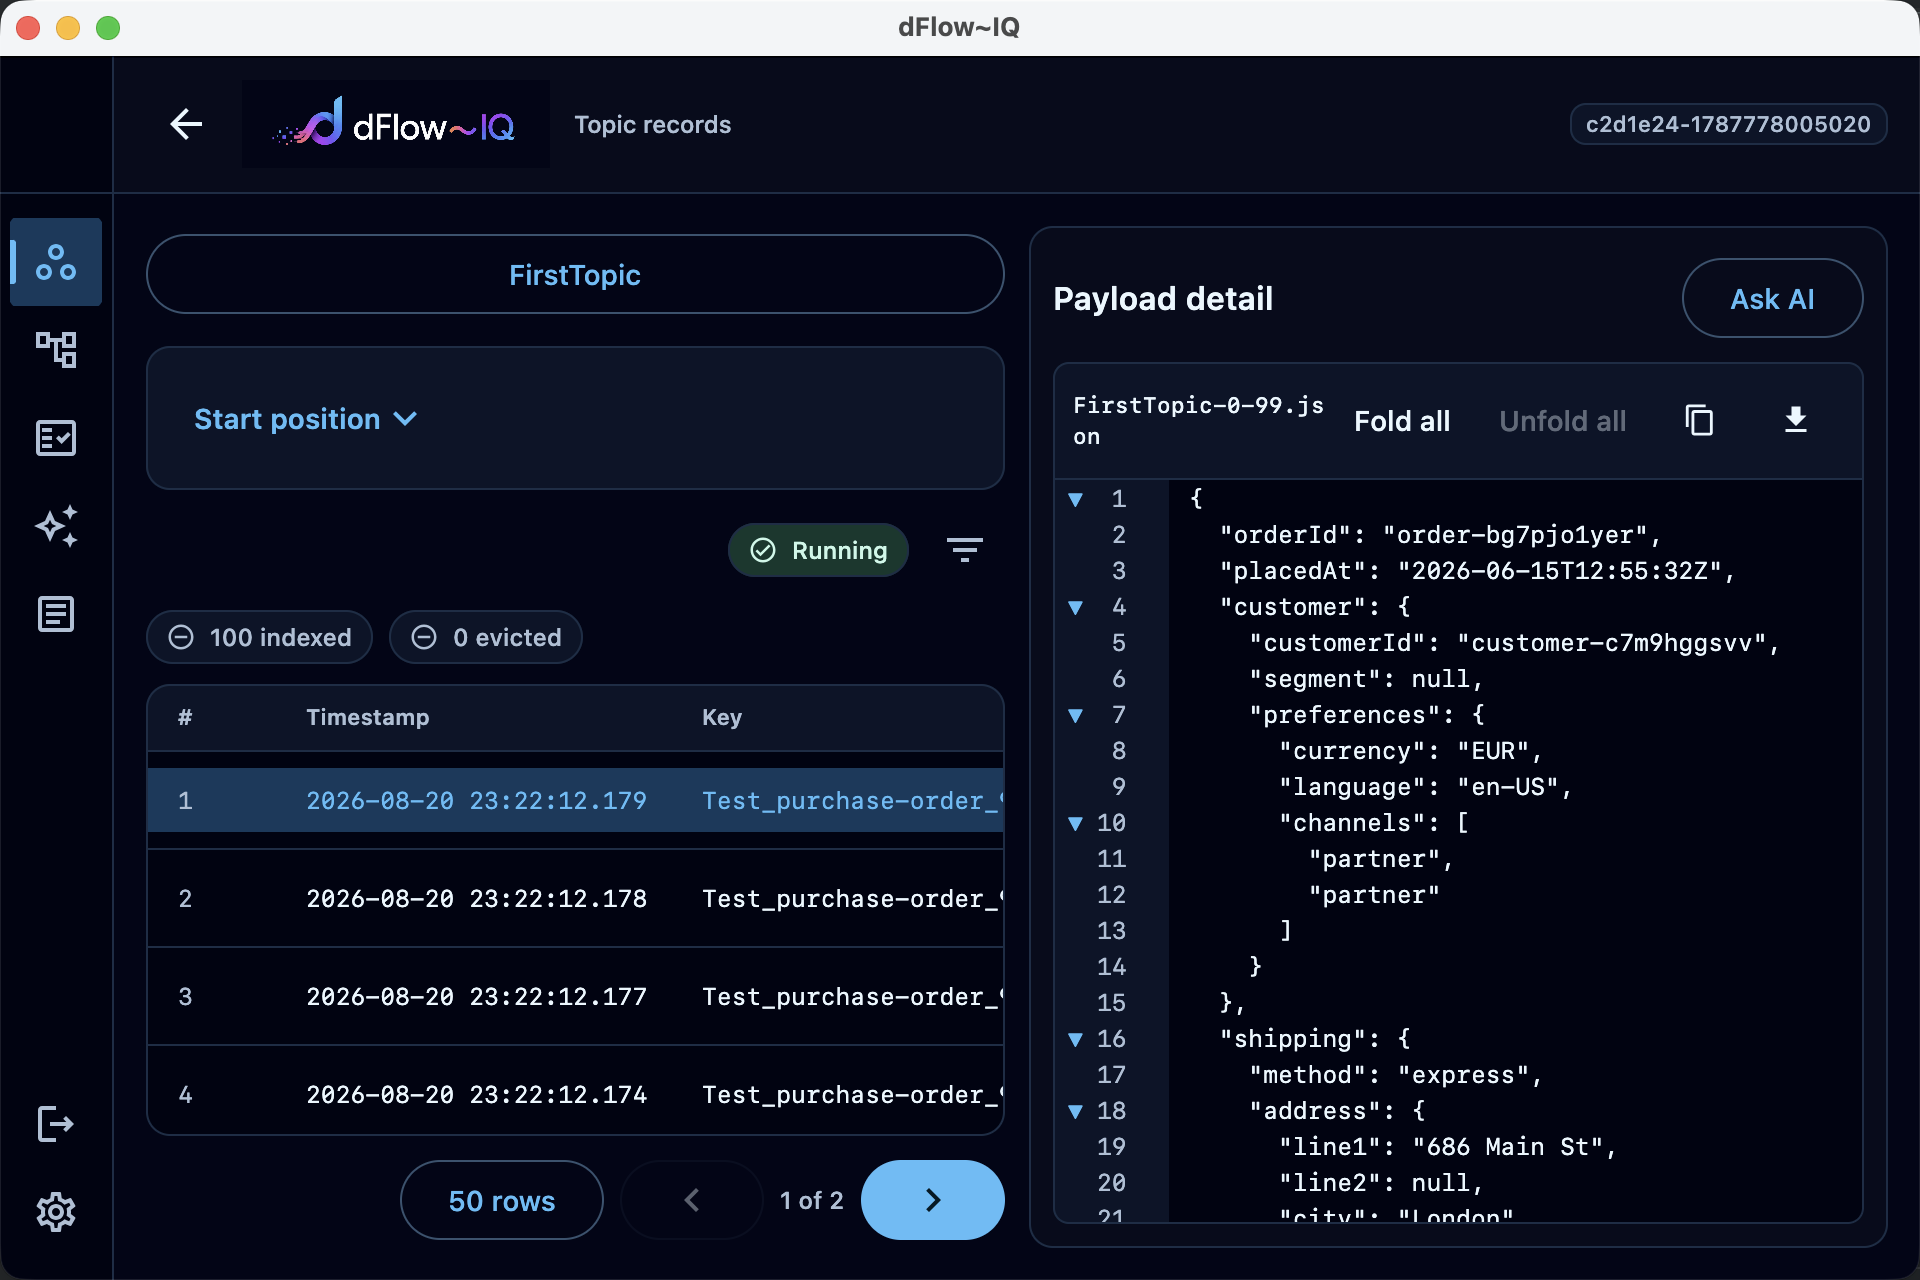
Select a workspace, open Kafka → Topics, choose a topic, then use Browse records. Select any metadata row to retrieve its current payload from Kafka.
Inspect schemas as a graph or text
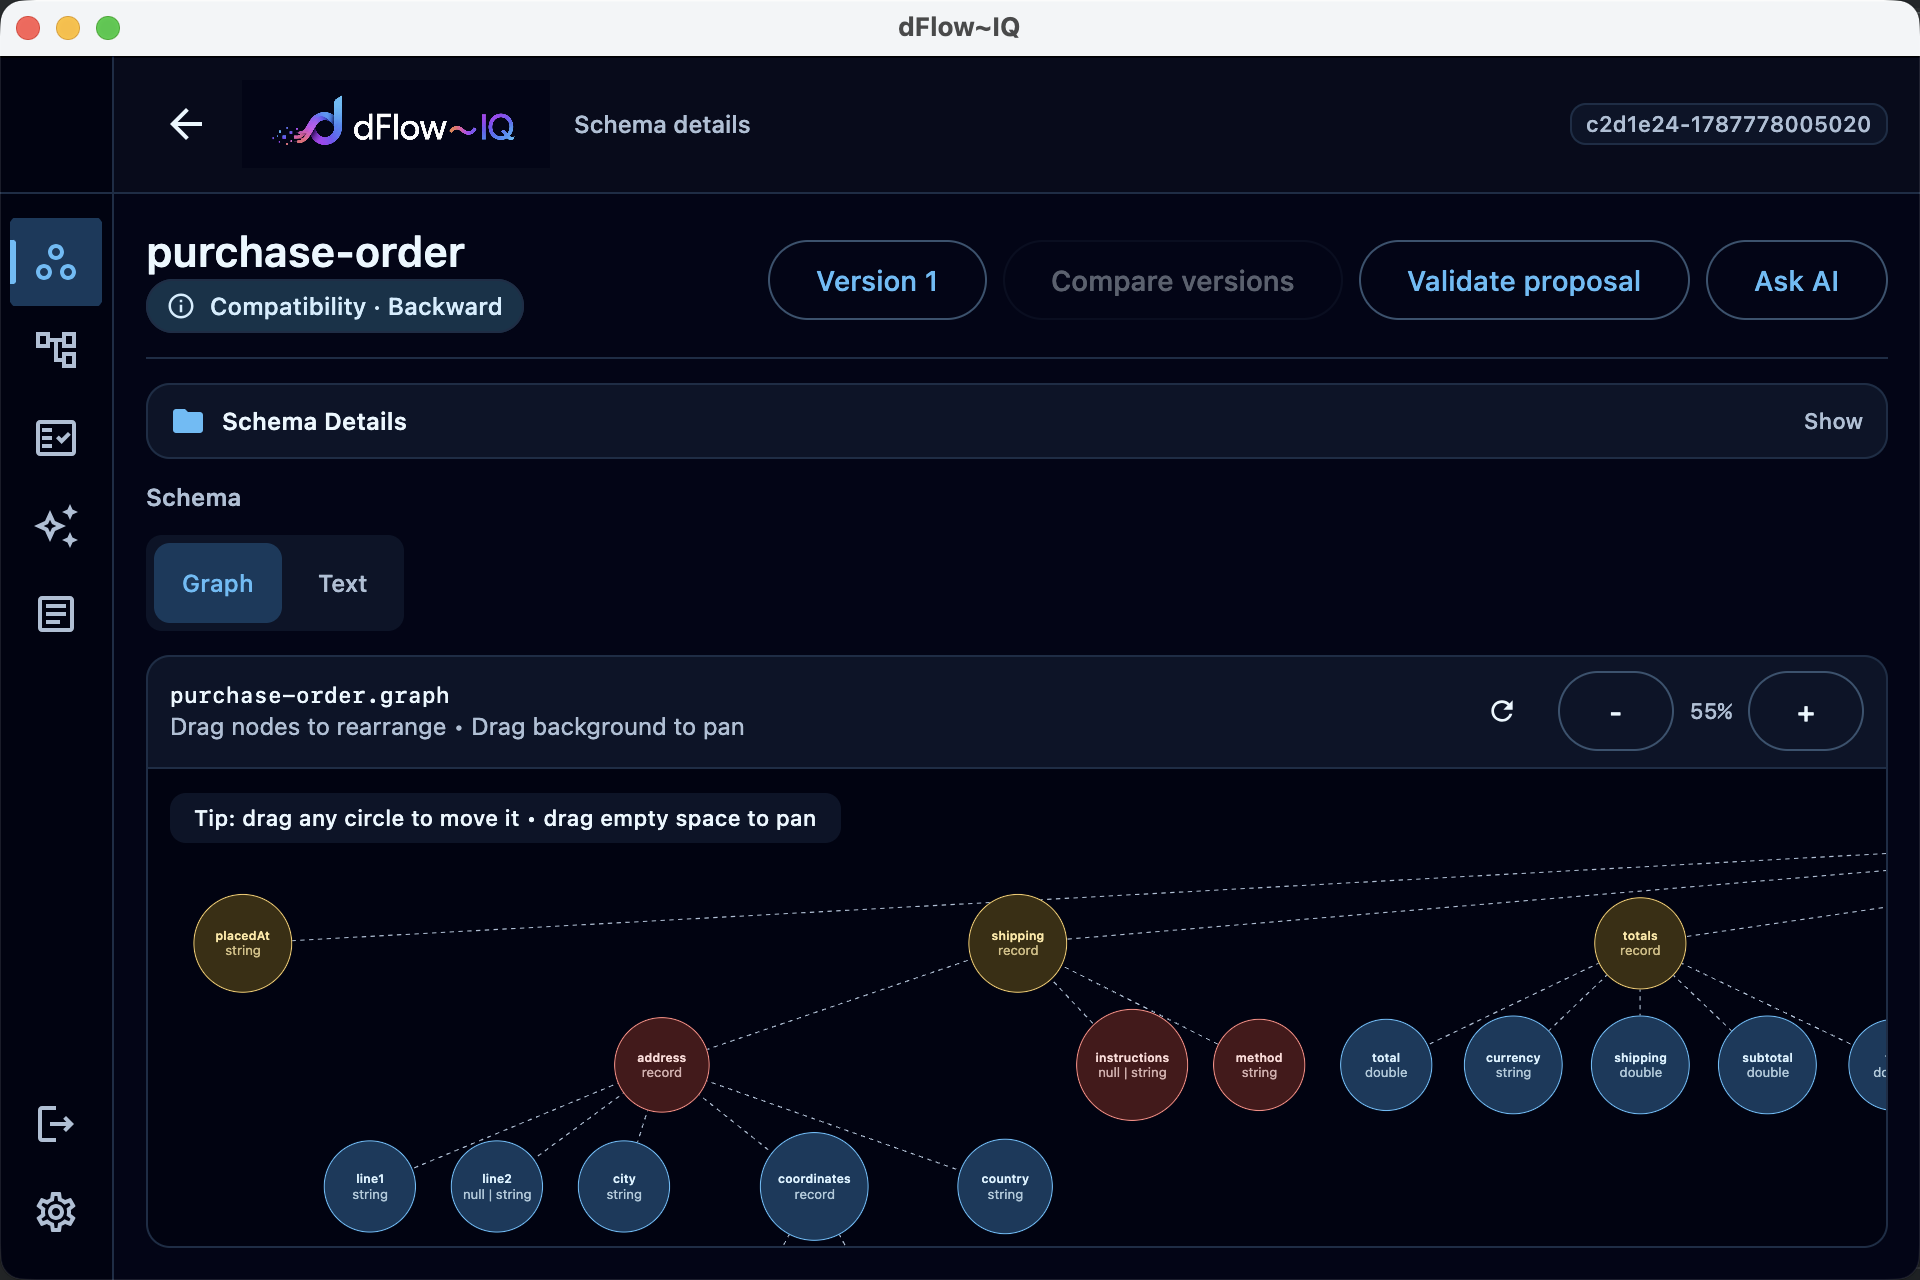
Open Schema Registry → Schemas and select a subject and version. Use Graph to explore nested fields or Text to read the schema source with line numbers.
Move data between topics with a pipeline
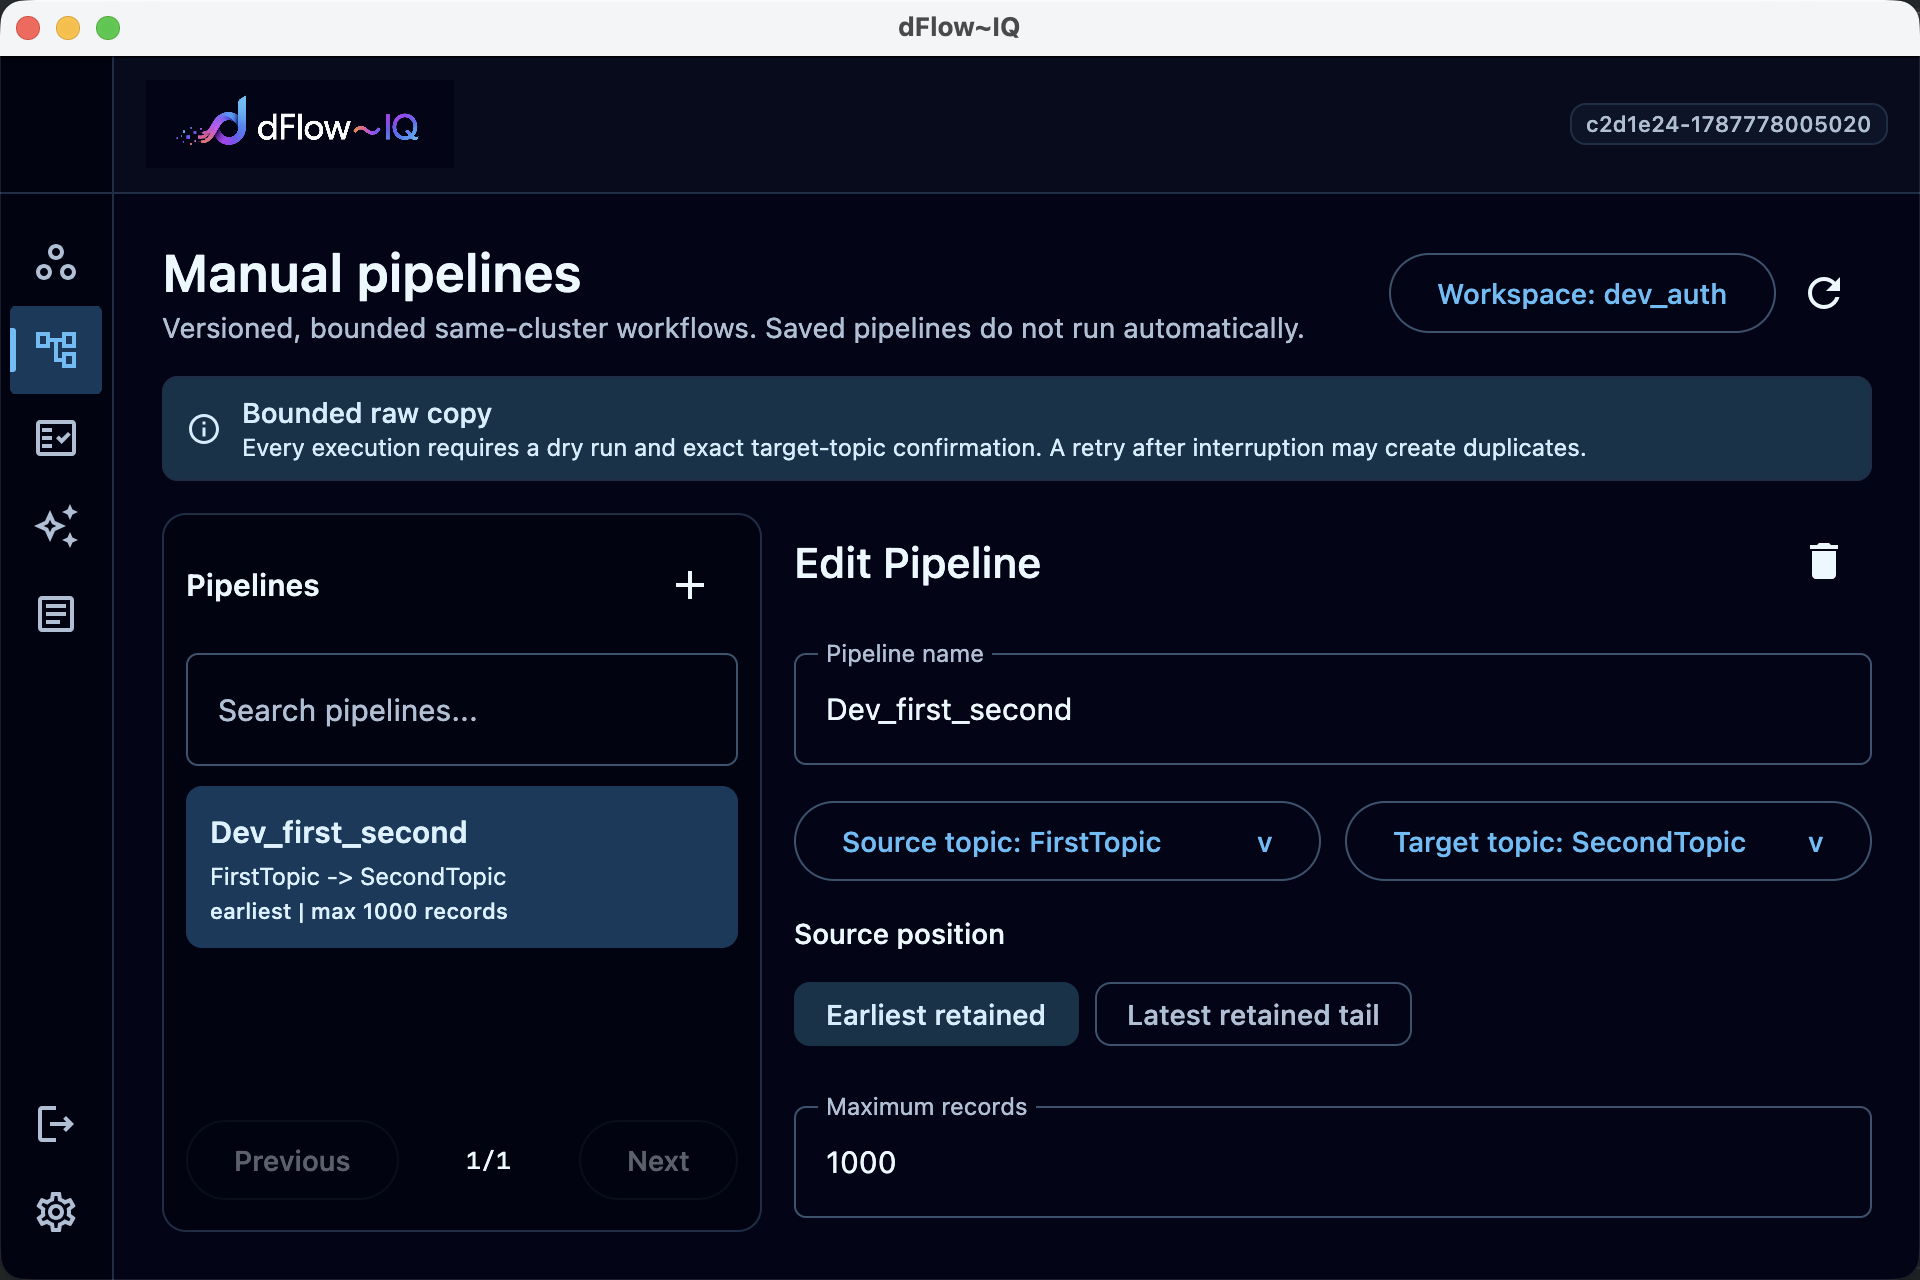
Open Pipelines, select New pipeline or an existing definition, then set different source and target topics, the source position and the maximum record count.
Configure an integration test
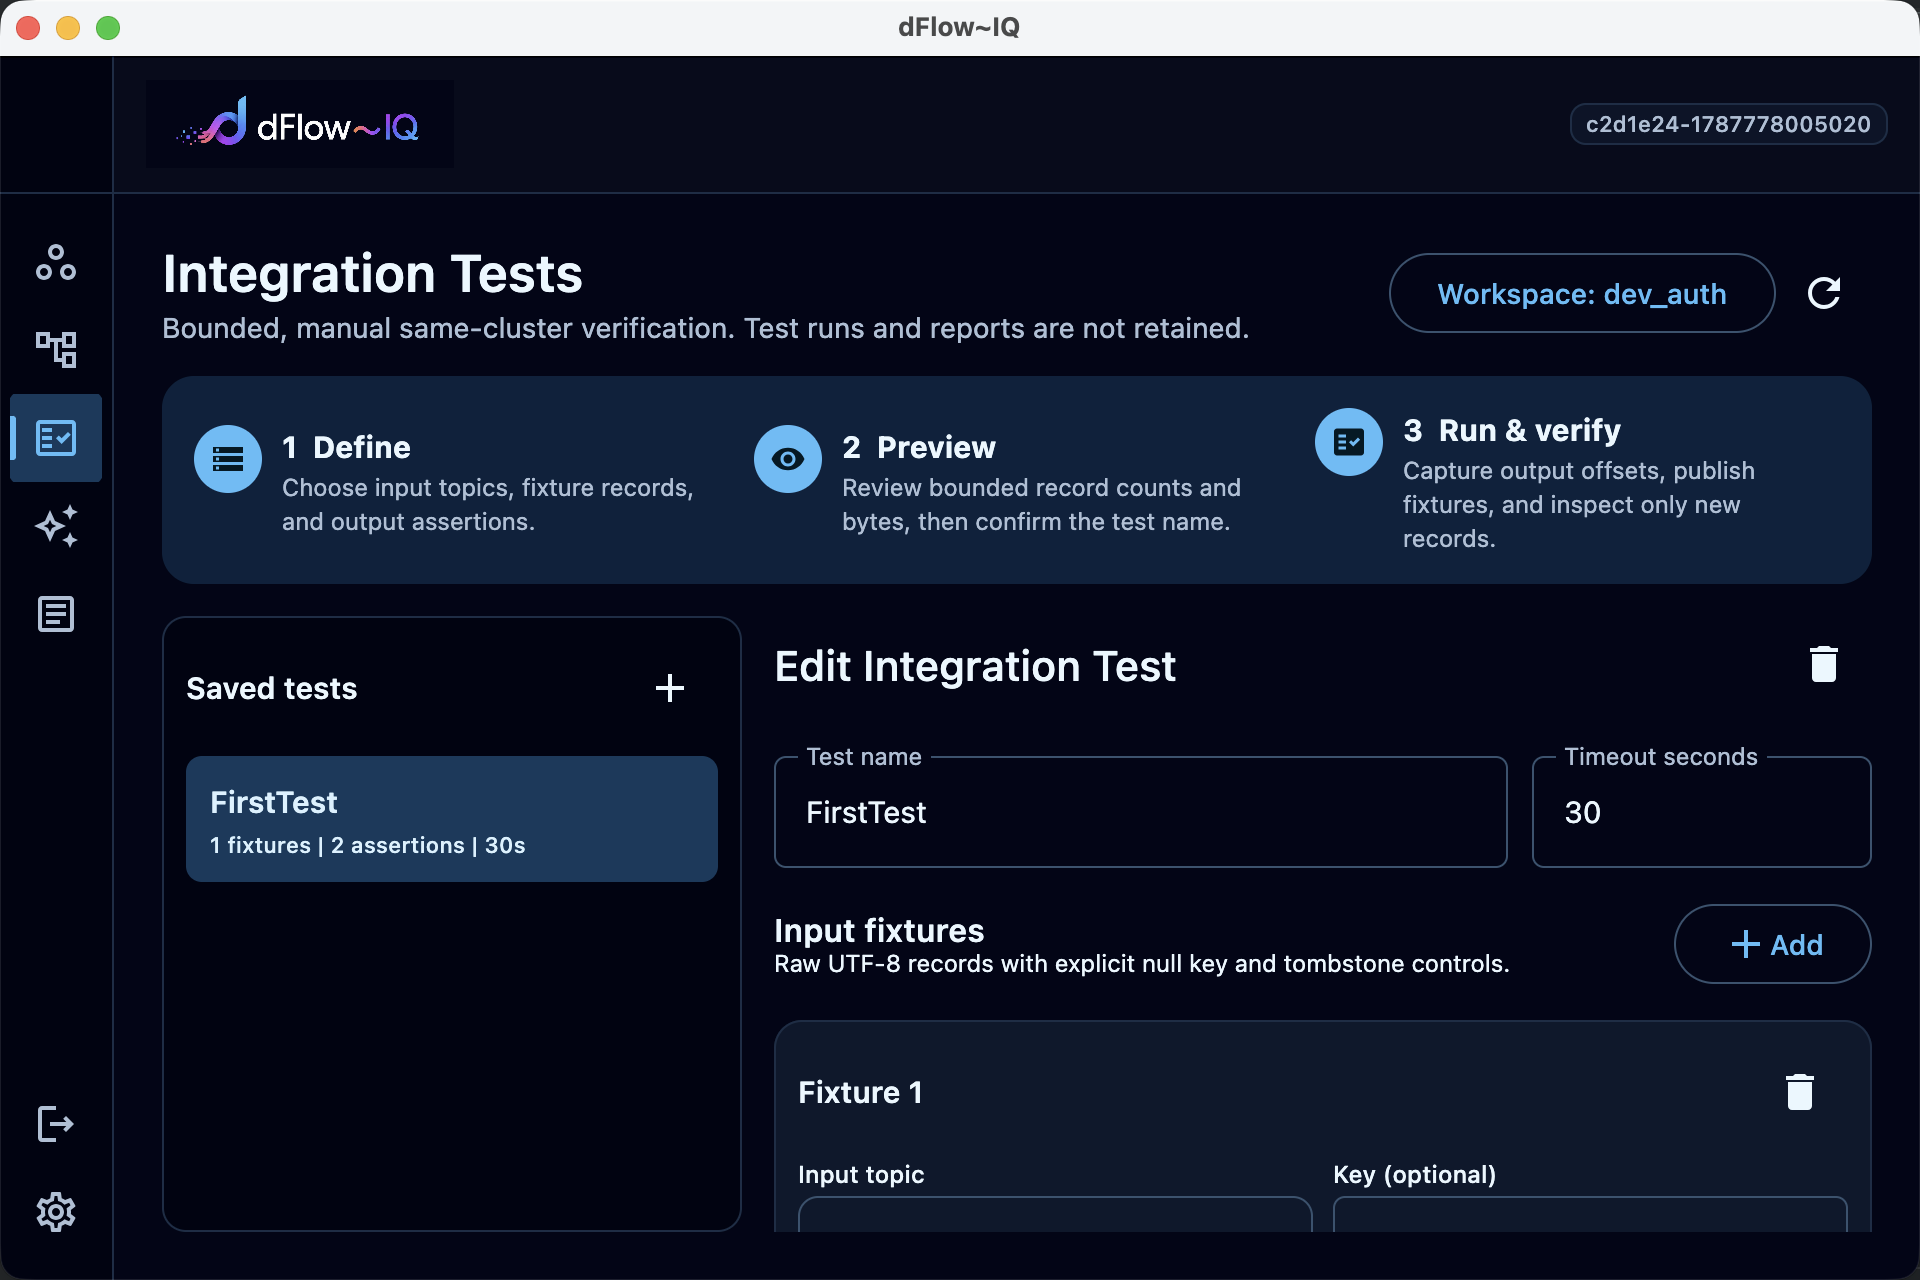
Open Tests and create or select a saved test. Add UTF-8 input fixtures and output assertions, then choose a timeout before previewing the test.
Know what is stored locally
Application settings live under ~/.dflowiq by default. Workspace project files live in the directories you select.
- config.json: recent workspaces, TLS, appearance and telemetry choices.
- session.json: currently open workspace state.
- app.db: AI provider configuration.
- activity.db: local activity history.
- Temporary record indexes, pipeline plans, test reports and AI conversations are not durable.